Stencil making and spraying tips
What material do I use for my stencil?
When you are planing to spray a stencil maybe on a wall, on a t-shirt or to personalise a product you will be wondering what to make the stencil from and there are a few options. But the best piece of advice is, to use the thinnest material possible for the design and purpose, I will continue to explain…
1. Paper stencils?
Yes of course you can use paper and this may be the best option for a simple home made stencil but remember you will not be able to re-use these many times before they loose their shape. The paint will clog up and make the paper less flexible, allowing more under spray.
2. Card stencils?
Thicker card does allow you to spray wall stencils easily as it holds it’s shape but the thicker the card the more chance you have of pooling paint in the card cutout areas. This can lead to paint dribbles down your wall if you are not careful. The lack of flexibility also increases the chance of under-spray on uneven surfaces.
3. Mylar stencils?
Mylar is a thin flexible polyester material that comes in a range of thicknesses 75micron (0.075mm) up to 500micron (0.5mm). It is reusable and pretty tough even at 75micron. This is the material of choice and as far as our pricing goes at least, less expensive than card. Mylar laser cuts quickly and cleanly where card can take longer thus balancing out the costs. We would choose the best thickness for your stencil, the thinnest possible for the design (complexity) and purpose (wall/floor).
4. Acrylic stencils?
No! Don’t use premium price acrylic when you can use cheaper and get a better finish.
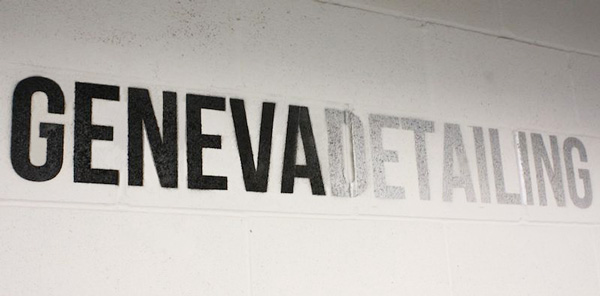
A case study– Geneva Detailing, Cheltenham
Steve at Geneva Detailing wanted a stencil for his wall, we took his logo and created a stencil compatible laser cutting file. If you want to make your own create a vector file in Illustrator or Coral Draw for example. Geneva Detailing’s wall was uneven so we used thin and flexible 125micron mylar and Steve used a light coat of spray mount and masking tape to attach it to the wall.
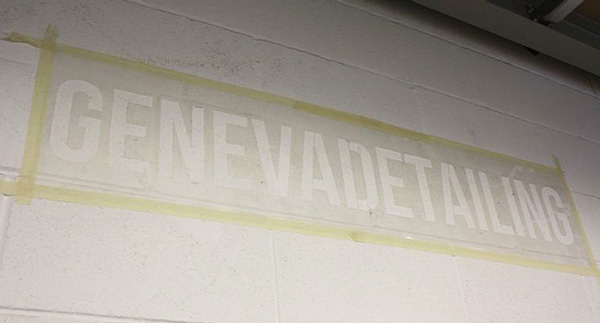
Take your time to set up the stencil properly, securing it and covering up the surrounding area. The stencil should be sprayed from at least 30cm away slowly and smoothly, don’t angle your spray as this will increase the chance of lifting the mylar and leaving under spray. Build up a few layers of paint to make sure you are not flooding the area. When the paint is just dry peal and reveal!